Non Fungible
This page guides you through the process of creating a new project using the Non-fungible Template. The non-fungible template is tailored for projects that require non-fungible tokens (NFTs). Unlike fungible tokens, non-fungible tokens cannot be split up. Follow the step-by-step guide below to create and deploy your non-fungible project:
Step 1: Set Up Your Project
Create your project, with its own directory and add the necessary dependencies to it. Run the following to perform this process:
mkdir non-fungible-project \
&& cd non-fungible-project \
&& npm init -y \
&& npm install typescript --save-dev \
&& npx tsc --init \
&& npm install --save @versatus/versatus-javascript
Step 2: Start the Project
Now, initialize a new LASR project. In this guide, you will use the non-fungible template:
npx lasrctl init non-fungible
Step 3: Set up your Wallet Keys
Replace the address and secret_key from the keypairs.json file with your account keys.
If you require assistance finding your keys, refer to the Creating your First Program guide to learn where to find them.
Step 4: Build Your Program
You need to compile your TypeScript code into JavaScript before deployment. To do this, use the following command:
npx lasrctl build example-program.ts
Step 5: Test Your Program
You can now validate your program's performance against sample JSON inputs that it might encounter in real-world scenarios, as defined by the LASR protocol. To initiate the testing process, use the following command:
npx lasrctl test -b example-program -i example-program-inputs
With these tests successfully completed, your program is now prepared for deployment on the LASR network.
Step 6: Deploy Your Program
You can now start the deploy process using the npx lasrctl deploy command. Below is the command you need to run to deploy your non-fungible application:
npx lasrctl deploy --build example-program --programName "<PROGRAM_NAME>" \
  --symbol <SYMBOL_NAME> --initializedSupply 4 --totalSupply 4 \
  --txInputs '{"imgUrl":"https://i.seadn.io/gcs/files/32d179f19a42ceed7b4727b70d3352bb.jpg?auto=format&dpr=1&w=3840","price":"1","paymentProgramAddress":"<PAYMENT_PROGRAM_ADDRESS>","imgUrls":["https://i.seadn.io/gcs/files/5c10e1bf3028476390a65d6726f5340e.jpg?auto=format&dpr=1&w=3840","https://i.seadn.io/s/raw/files/cafd1614da6255ee880254ce349ce866.png?auto=format&dpr=1&w=3840","https://i.seadn.io/gcs/files/6850a6abc69d80c905951316ceb5949b.jpg?auto=format&dpr=1&w=3840","https://i.seadn.io/s/raw/files/94df22c9da16faaf95494f745bcc3e85.png?auto=format&dpr=1&w=3840"],"collection":"batz"}'
Make sure to replace the following information:
<SYMBOL_NAME>: The symbolic name for the token.<PROGRAM_NAME>: The name of the program being deployed.<PAYMENT_PROGRAM_ADDRESS>: The address of the payment program.
For detailed information about each standard parameter, refer to the Deploy Configuration page.
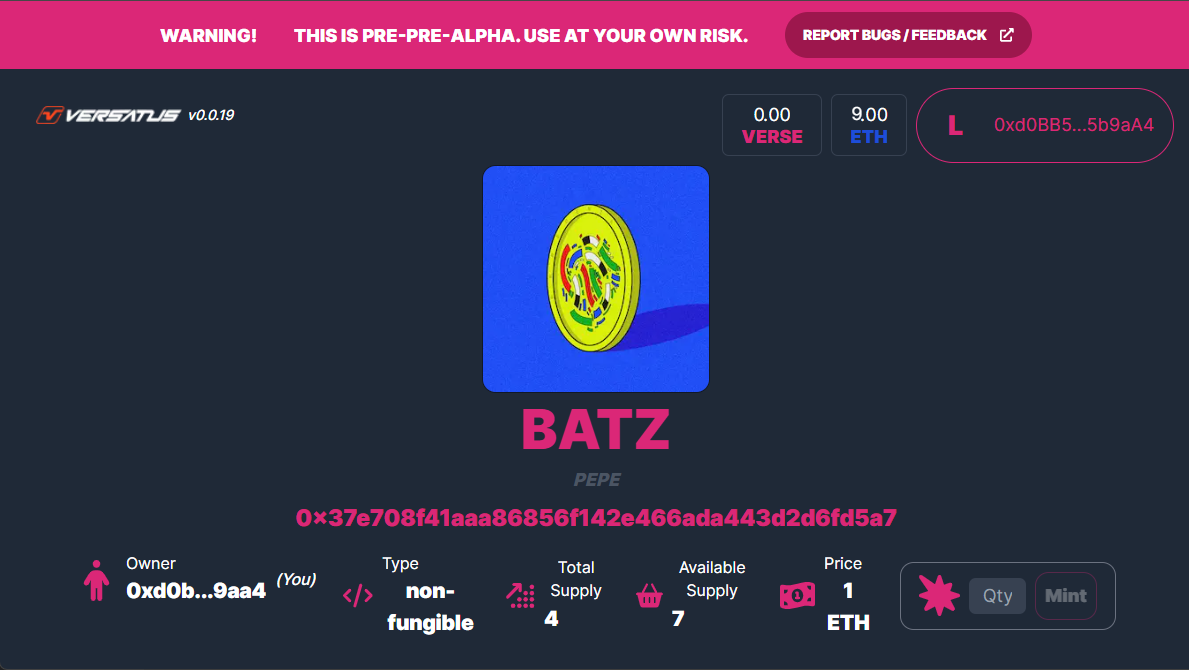
Interacting With Your Program
Once the deploy is finished, it'll provide you with a URL that can be used in any web browser to interact with your program. This URL will be similar to the following:
https://playground.versatus.io/programs/0x0b90aa2e5ce3a9ced87bab04e04508879c8190b7